Objective:
This tutorial will guide you through creating a front loader robot using your XRP robot kit. Check out this fun video of a front loader robot playing a robot game.
Printing time requirement: 3 hours
Building time requirement: 20 minutes
Materials:
- XRP robot kit
- Front loader robot parts (bucket, servo mount, and pivot)
- Screwdriver
- Hot glue gun (optional)
Step 1 Mechanical assembly:
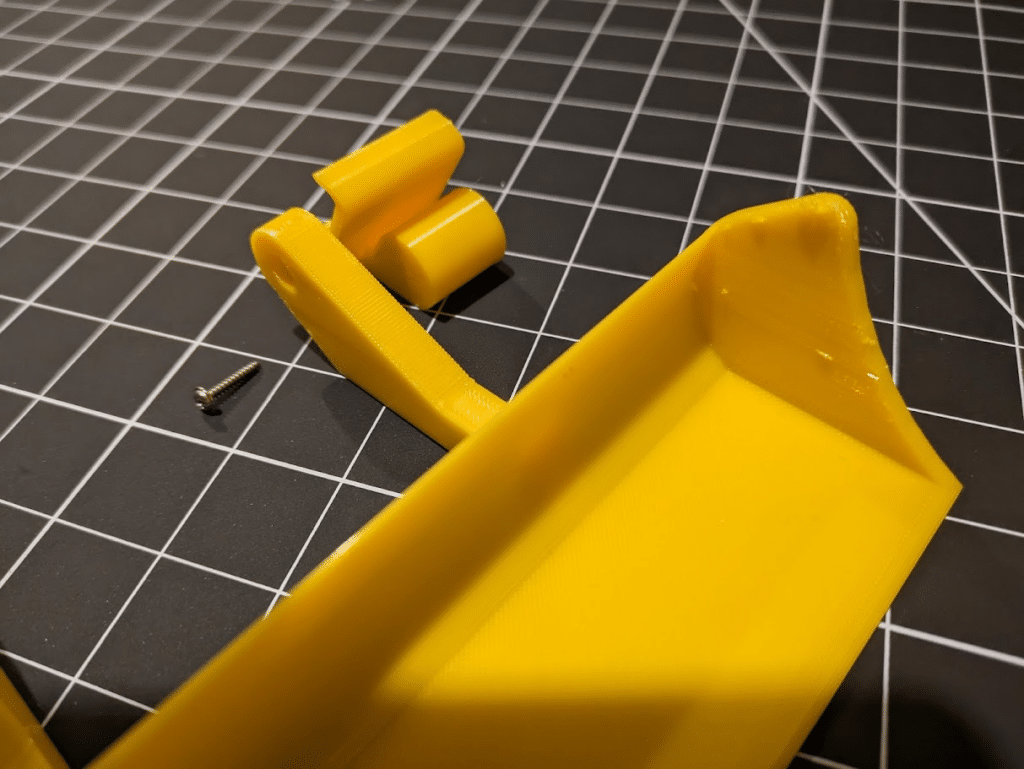
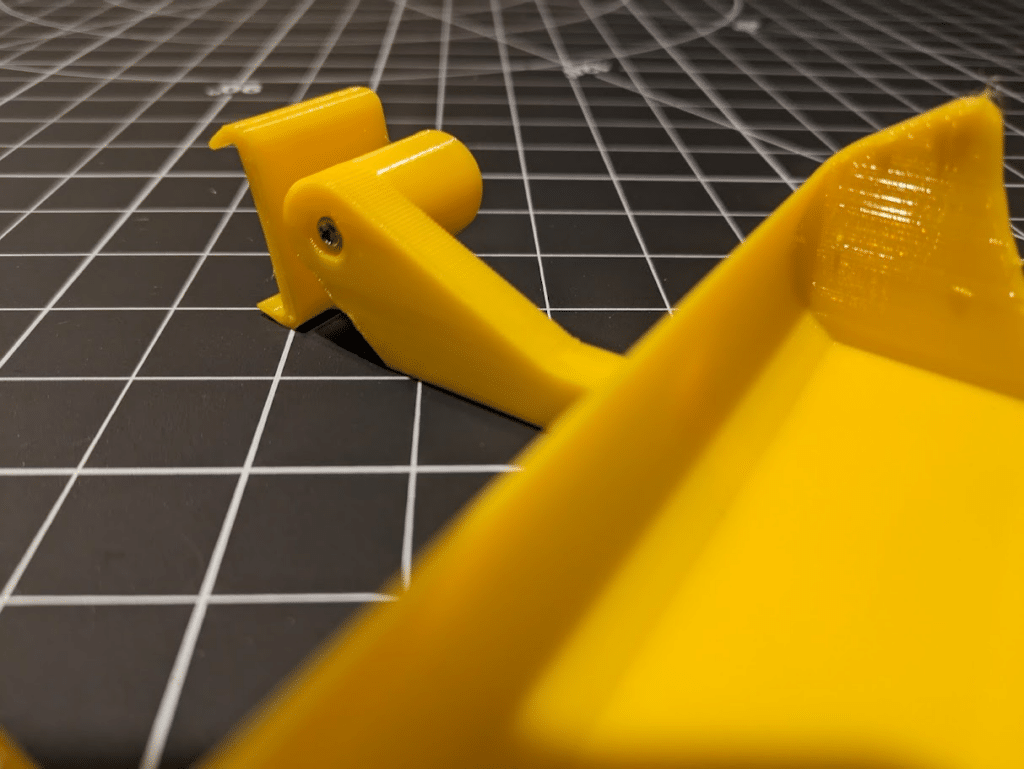
Use one of the long screws that came with the servo to attach the bucket to the pivot. The screw will thread into the plastic. Make sure not to tighten the screw too much because the pivot needs to move freely.
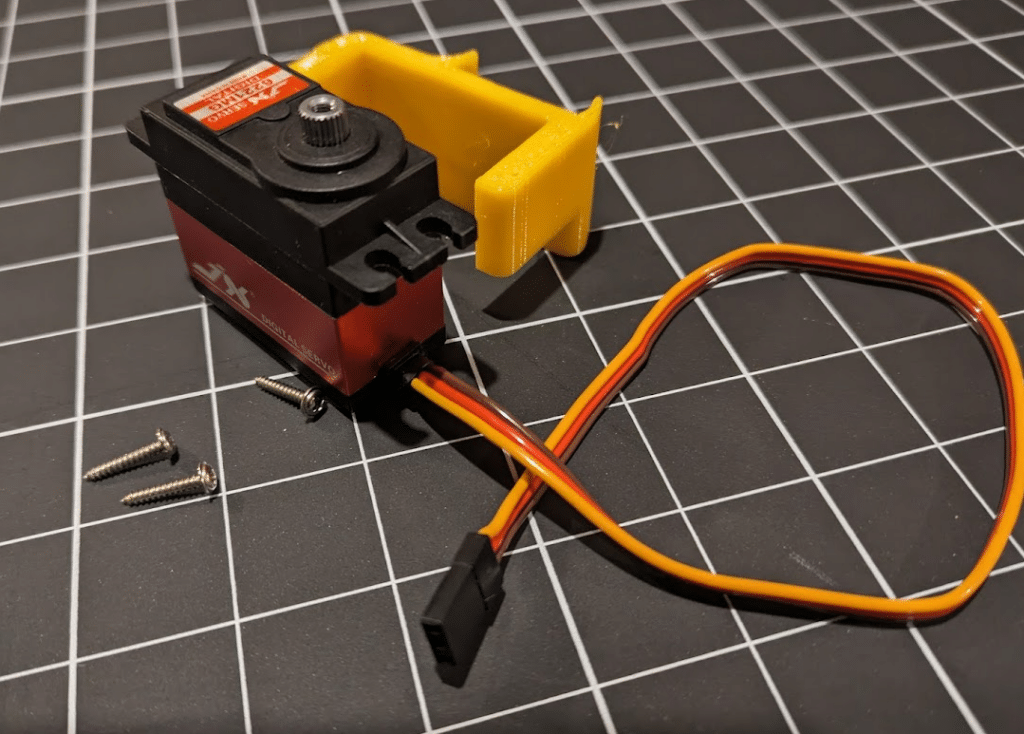

Use the remaining screws to fix the servo to the servo mount. Like the last step, the screws will thread into holes in the plastic

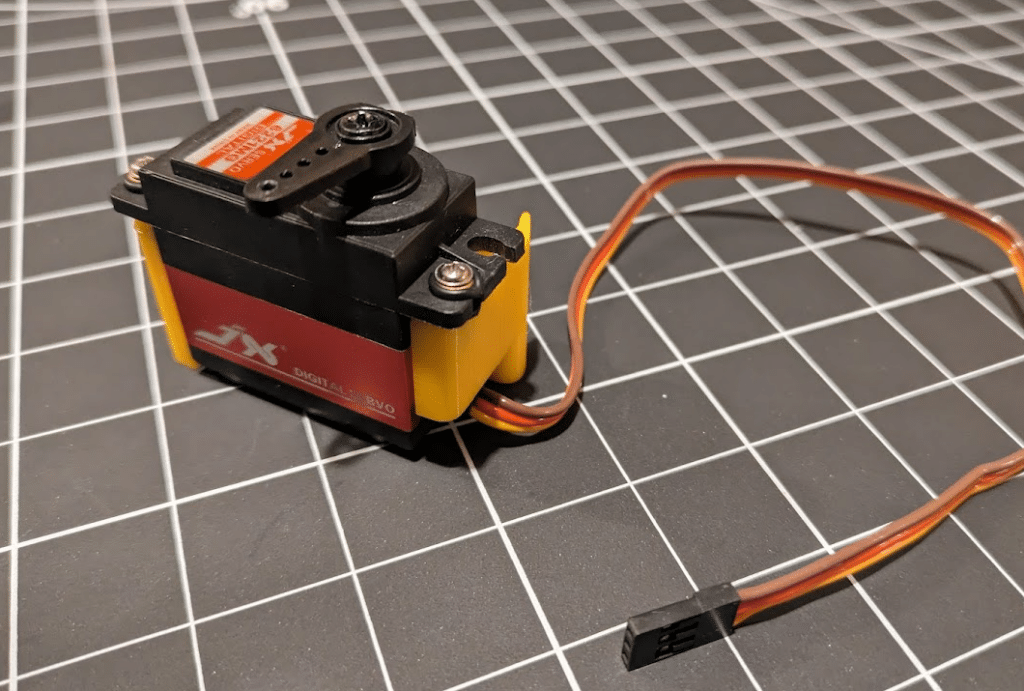
Attach the servo horn to the servo. Servos can only rotate 180 degrees, and the angle that horn can reach depends on how you attach it. Make sure the servo can complete the full range of motion it will need when it is on the robot!
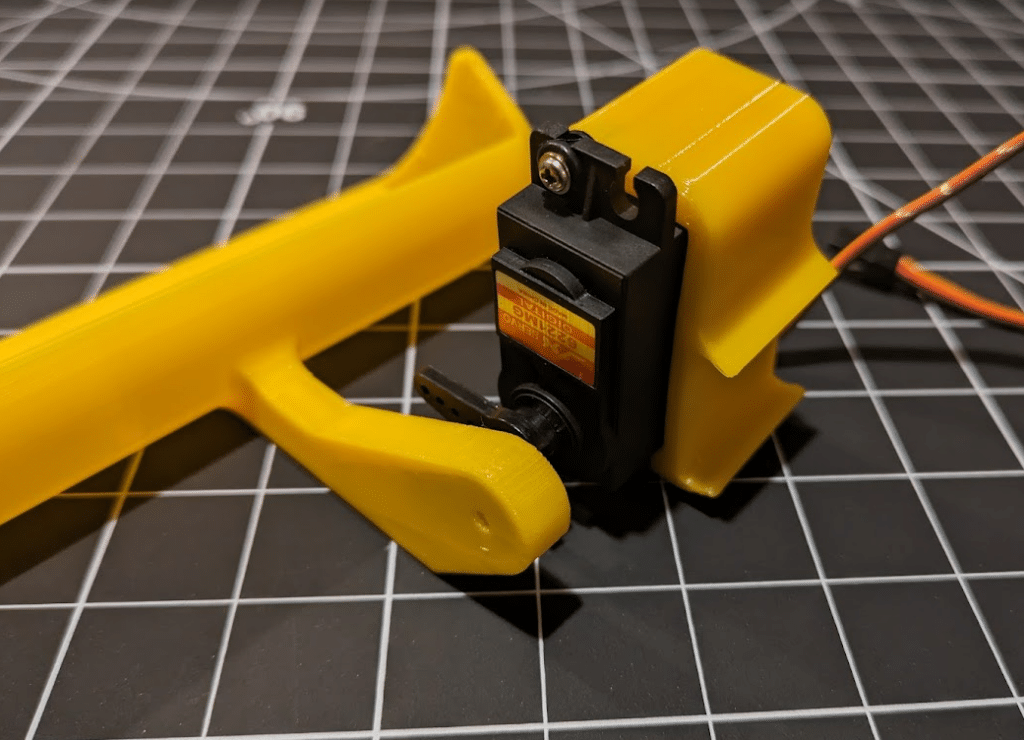

push the servo horn into the slot in the bucket arm. This is where hot glue can optionally be used to make this connection stronger.
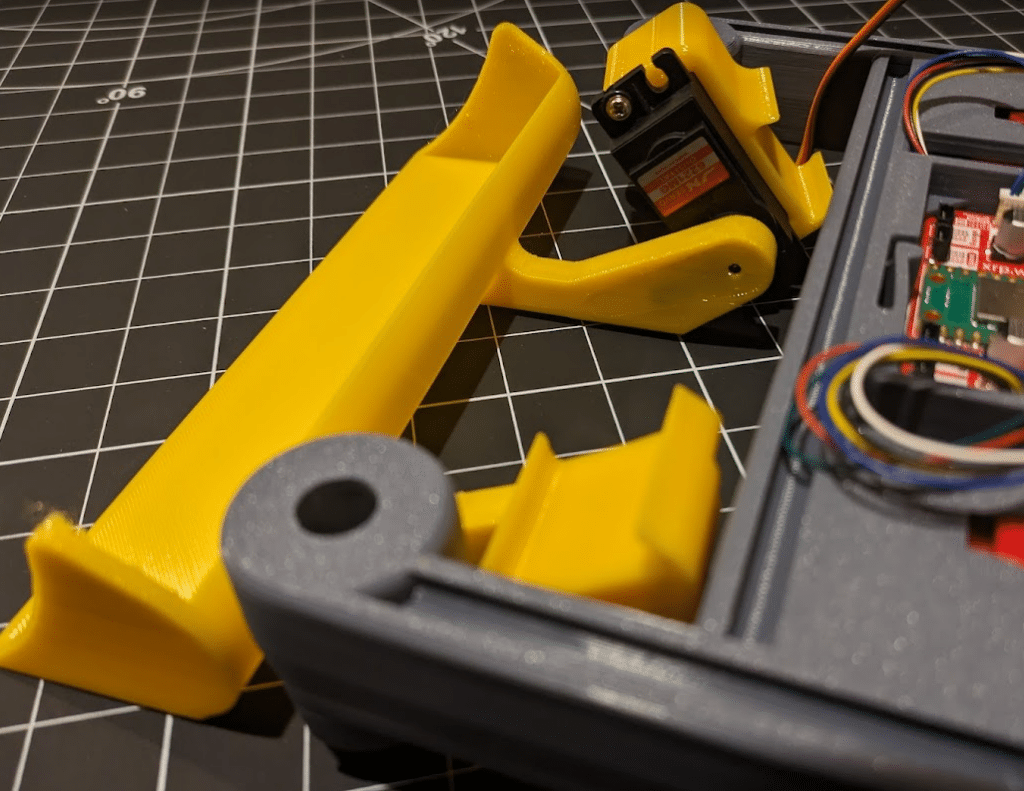

Clip the servo mount and the pivot prints onto the front rail of your XRP robot
Step 2, Electrical assembly:
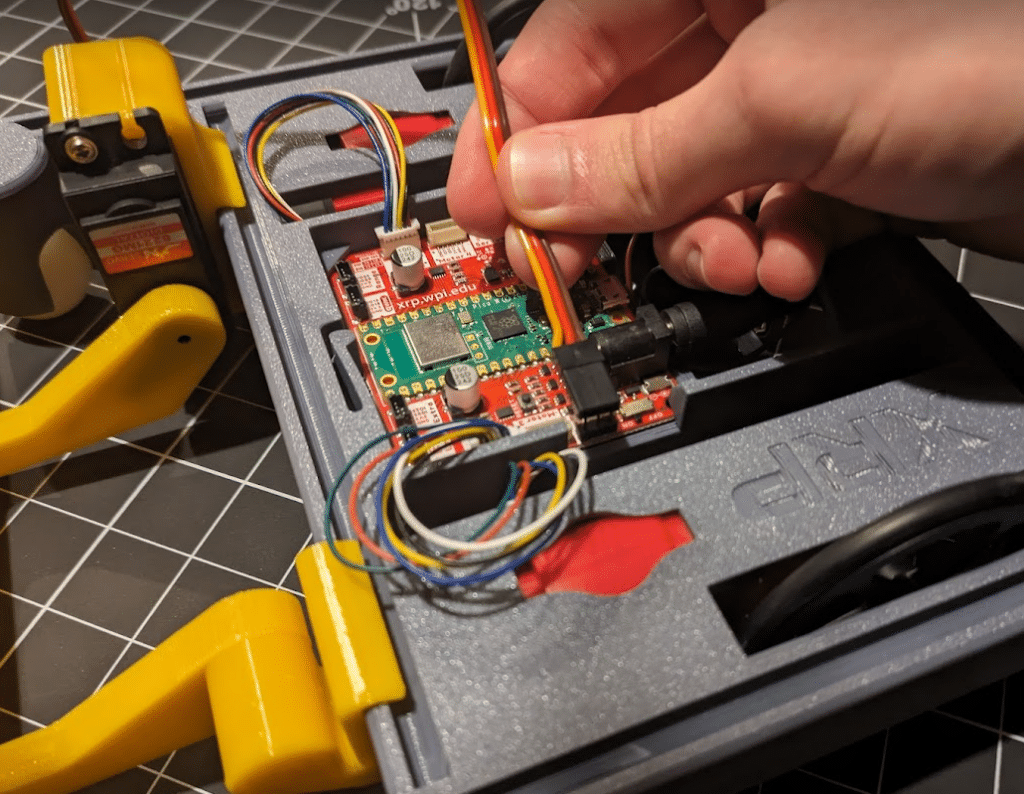
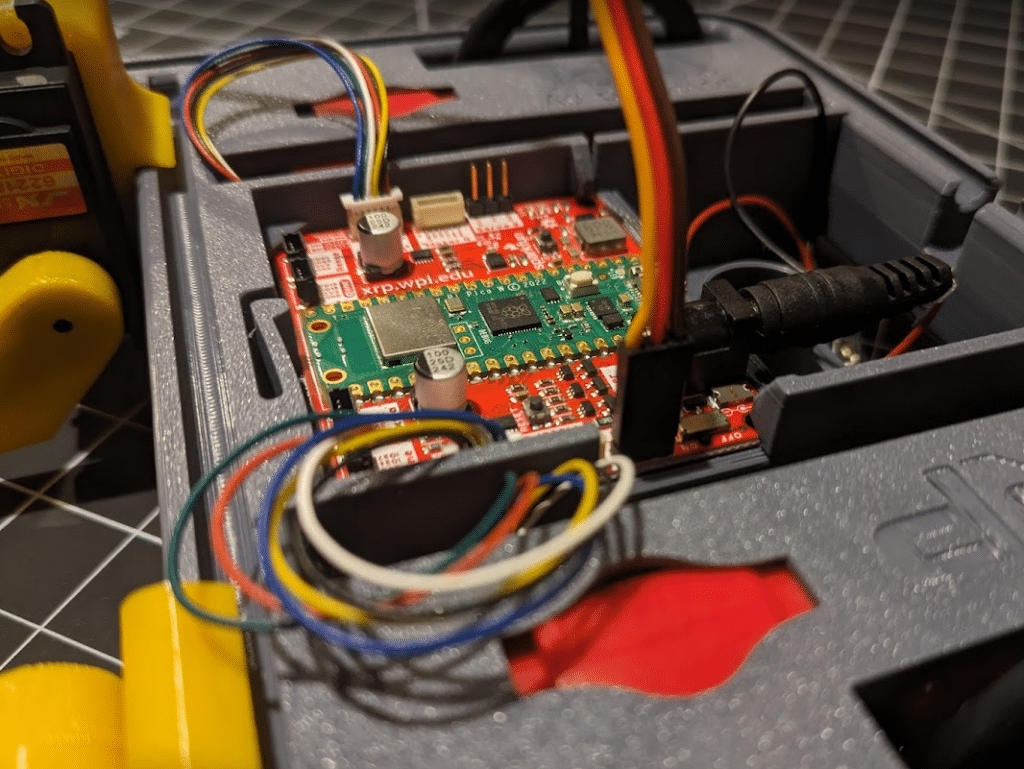
plug the servo into the “servo1” port of the XRP board. make sure the connector is flipped the right way. Brown to Gnd, red to 5V, orange to signal.
Step 3, Programming:
WIP
Step 4, Bdazzel!:
Every robot needs stickers and googly eyes! Congratulations, you now have a frontloader Robot!

