Printing time requirement: 4 hours
Building time requirement: 20 minutes
Materials:
- XRP robot kit
- Dump Truck robot parts (bucket, servo arm, and support arm)
- Tape
- Screwdriver

Objective:
This tutorial will guide you through creating a dump truck robot using your XRP robot kit.
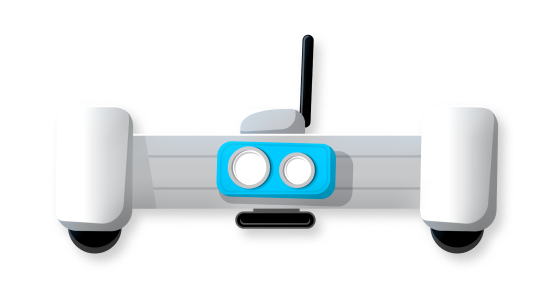
Step 1 Mechanical assembly:


Use the long screws to attach the servo. The screws will thread into the little holes in the 3d printed part


Attach the servo horn to the servo.


Clip both 3d printed parts onto the front rail of your XRP robot


Use tape to secure the bucket to the printed arms. The tape acts like a hinge, so when the servo rotates it can dump the bucket. I used black electrical tape, but any type of tape will work!
Step 2, Electrical assembly:


plug the servo into the “servo1” port of the XRP board. make sure the connector is flipped the right way. Brown to Gnd, red to 5V, orange to signal.
Step 3, Bdazzel!:
Every robot needs stickers and googly eyes! Congratulations, you now have a frontloader Robot!

Step 4, program the robot: